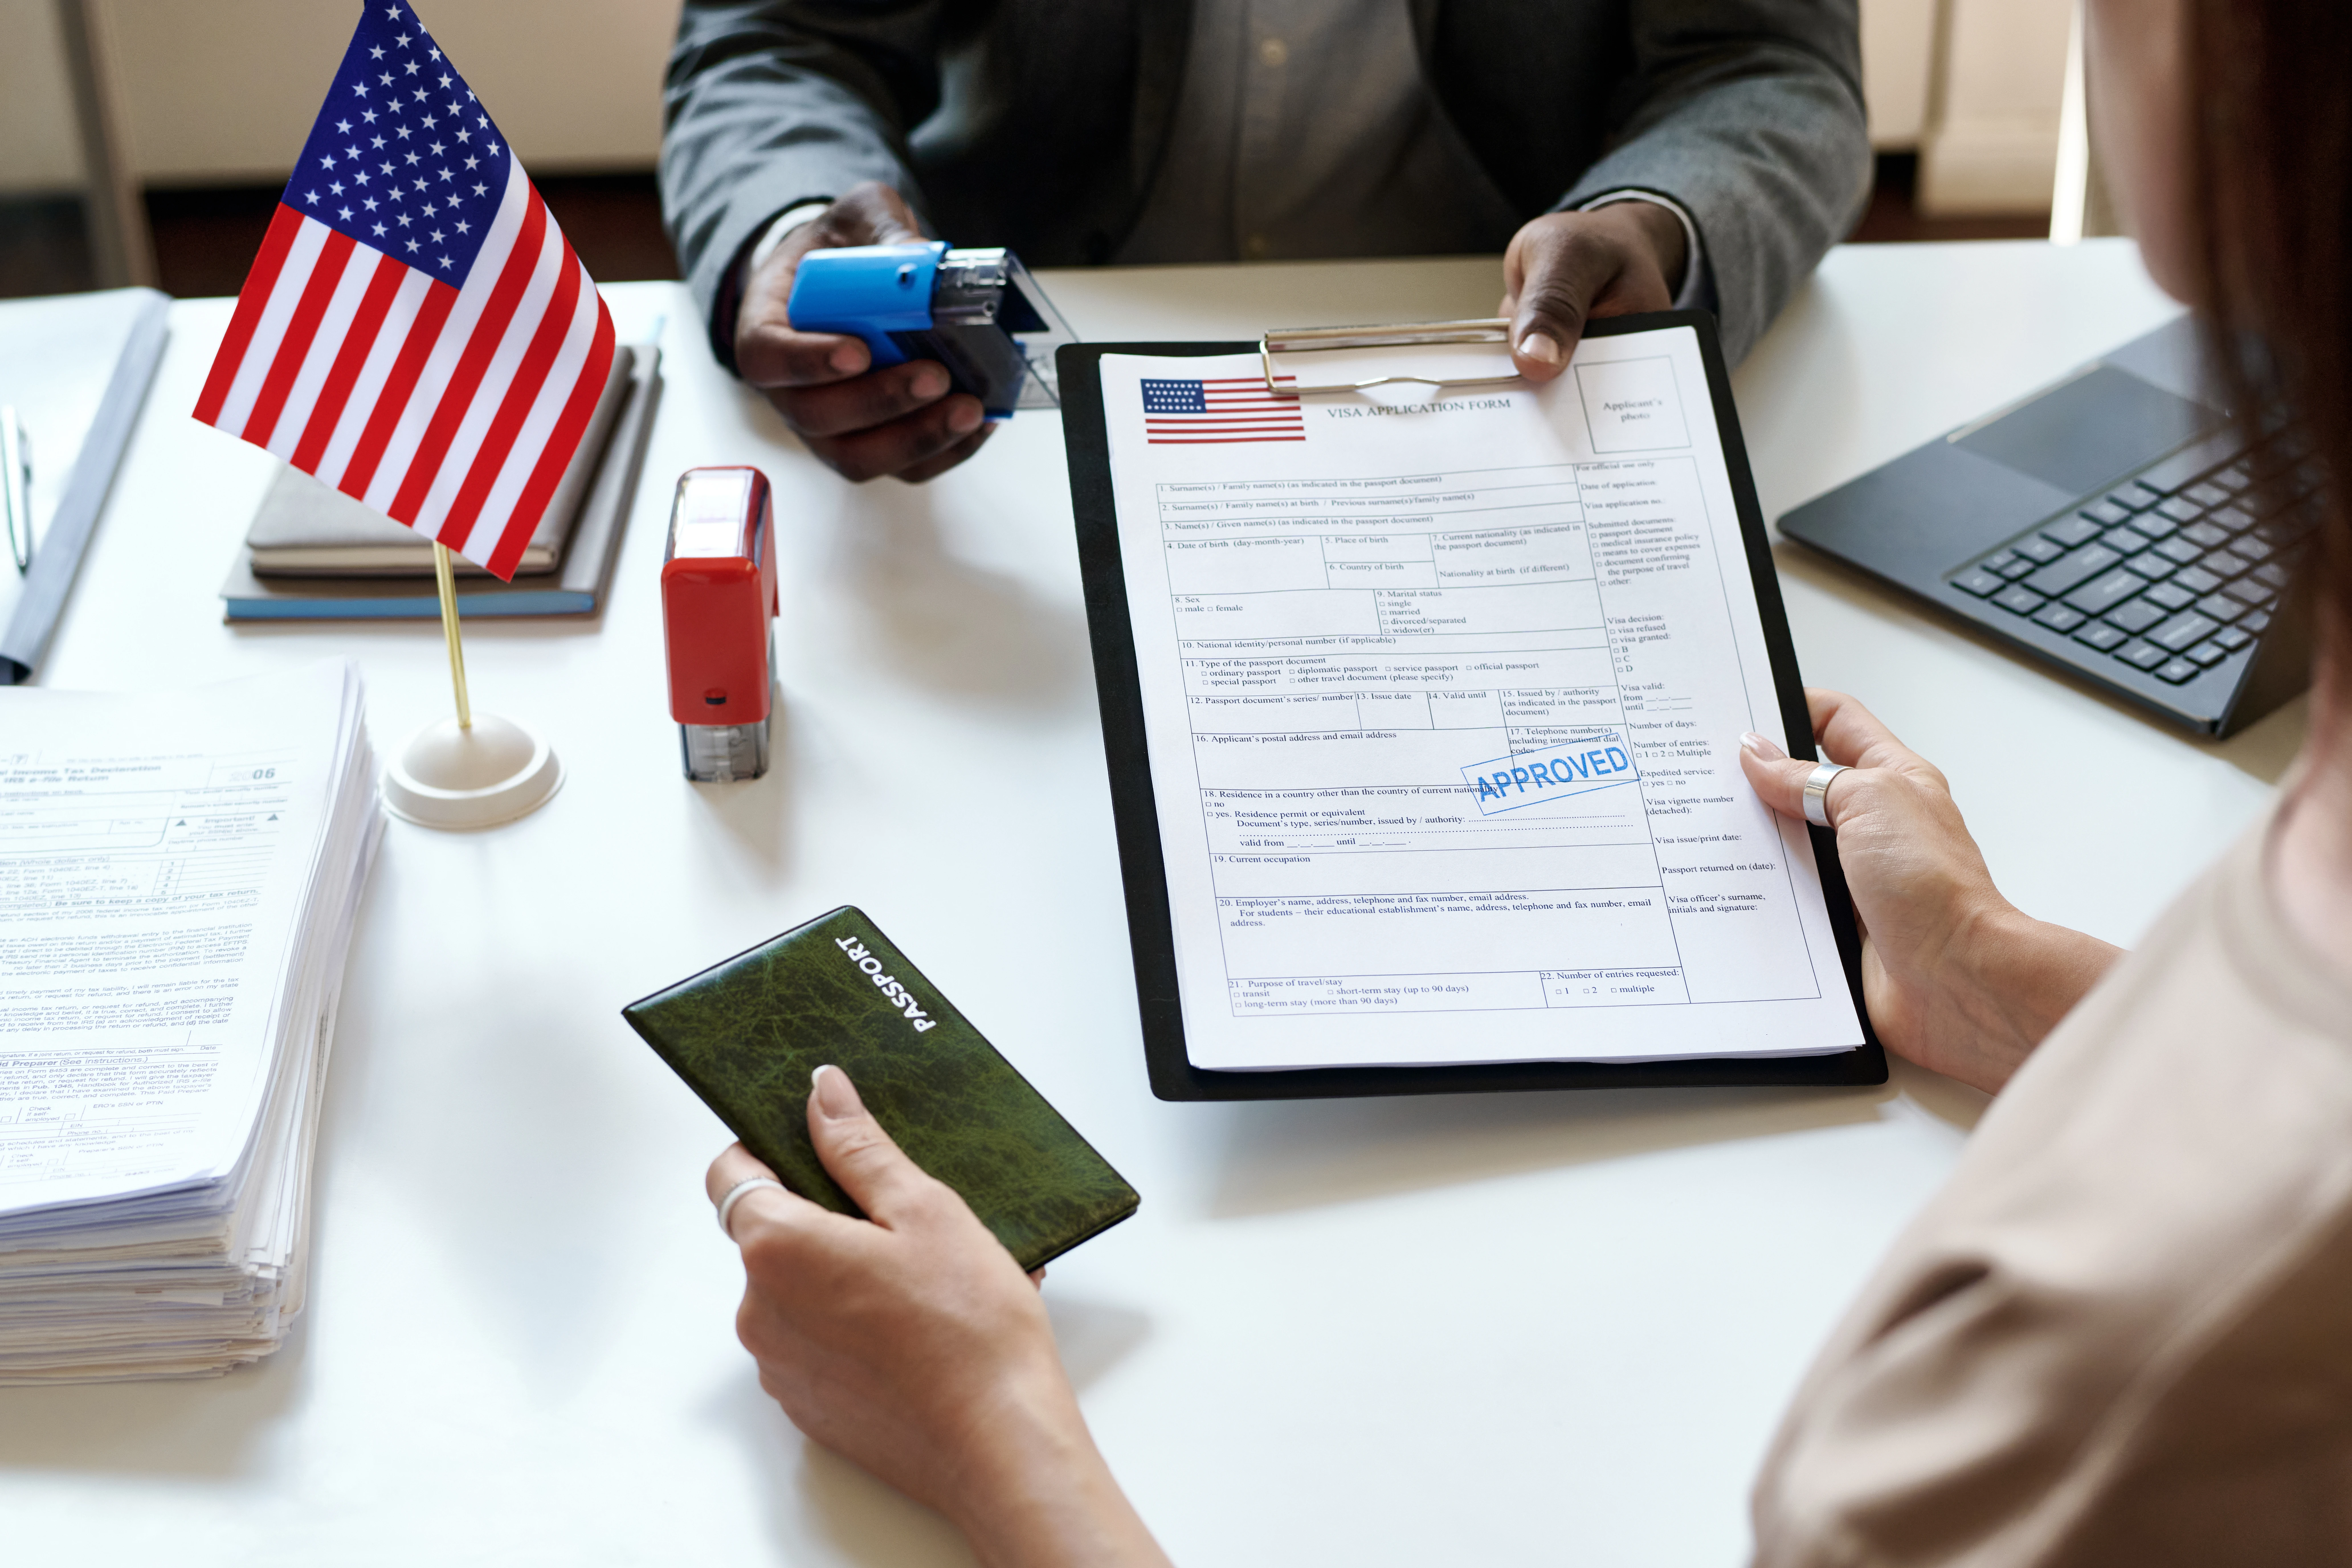
The process of applying for a U.S. visa can often seem complex and daunting, requiring meticulous attention to detail at every stage. From selecting the right visa category to attending the visa interview, each step is crucial for a successful application. In this comprehensive guide, we will provide you with all the necessary information to navigate the U.S. visa application process smoothly and effectively.
Understanding the Basics: What is a U.S. Visa?
Before delving into the application process, it’s essential to understand the fundamental concept of a U.S. visa. A U.S. visa is a travel document issued to a citizen of a foreign country, allowing them to enter the United States for various purposes, including tourism, business, temporary work, study, or medical treatment. This visa is typically affixed to the traveler’s passport, which is issued by their country of citizenship.
Step 1: Selecting the Right Visa Category
The first step in the U.S. visa application process is to choose the appropriate visa category based on the purpose of your travel. Nonimmigrant visas are designed for individuals seeking temporary entry into the United States for specific reasons. To assist you in selecting the right visa category, refer to the chart provided below:
| Purpose of Travel | Visa Category | Required: Before applying for a visa |
| Athlete, amateur or professional (competing for prize money only) | B-1 | (NA) |
| Au pair (exchange visitor) | J | SEVIS |
| Australian professional specialty | E-3 | DOL |
| Border Crossing Card: Mexico | BCC | (NA) |
| Business visitor | B-1 | (NA) |
| CNMI-only transitional worker | CW-1 | (USCIS) |
| Crewmember | D | (NA) |
| Diplomat or foreign government official | A | (NA) |
| Domestic employee or nanny – must be accompanying a foreign national employer. | B-1 | (NA) |
| Employee of a designated international organization or NATO | G1-G5, NATO | (NA) |
| Exchange visitor | J | SEVIS |
| Foreign military personnel stationed in the United States | A-2 NATO1-6 | (NA) |
| Foreign national with extraordinary ability in Sciences, Arts, Education, Business or Athletics | O | USCIS |
| Free Trade Agreement (FTA) Professional: Chile, Singapore | H-1B1 – ChileH-1B1 – Singapore | DOL |
| International cultural exchange visitor | Q | USCIS |
| Intra-company transferee | L | USCIS |
| Medical treatment, visitor for | B-2 | (NA) |
| Media, journalist | I | (NA) |
| NAFTA professional worker: Mexico, Canada | TN/TD | (NA) |
| Performing athlete, artist, entertainer | P | USCIS |
| Physician | H-1B | SEVIS |
| Professor, scholar, teacher (exchange visitor) | J | SEVIS |
| Religious worker | Athlete, amateur, or professional (competing for prize money only) | USCIS |
Step 2: Obtaining Digital Photographs
A crucial requirement for the U.S. visa application is submitting digital photographs that meet specific guidelines. These photographs play a vital role in the application process and must adhere to the following requirements:
- Square shape
- Minimum dimensions of 600 pixels by 600 pixels
- Maximum dimensions of 1200 pixels by 1200 pixels
- Color image with 24 bits per pixel
- File format: JPEG (.jpg or .jpeg)
- File size not exceeding 240 kilobytes
Adhering to these guidelines is essential to prevent any delays or rejections in your visa application. Professional services specializing in U.S. visa or passport photographs can ensure compliance with these requirements.
Step 3: Completing Form DS-160 Form DS-160
Also known as the Online Nonimmigrant Visa Application, is a mandatory requirement for all nonimmigrant visa applicants. This online form collects essential information about the applicant and their intended travel to the United States. Upon completion, applicants receive a confirmation page with a unique 10-digit barcode, which must be printed and retained for scheduling the visa interview appointment.
Step 4: Scheduling the Visa Interview After completing Form DS-160
The next step is to schedule a visa interview at the nearest U.S. Embassy, Consulate, Diplomatic Mission, or Office Providing Consular Services. This can be done by creating a user account on the respective website and following the steps to schedule a Consular Section appointment. Applicants must provide the DS-160 confirmation number for each applicant, select a document delivery address, and pay the nonimmigrant visa application fee(s) through available payment methods.
Step 5: Fingerprinting at the Visa Application Center (VAC)
In addition to the visa interview, applicants are required to schedule a separate appointment for fingerprinting at the Visa Application Center (VAC). This appointment should be arranged at least a day or two before the scheduled visa interview at the designated U.S. consulate. Biometric information, including fingerprints, is collected at the VAC appointment to expedite the application process.
Step 6: Attending the Visa Interview
On the scheduled date of the visa interview, applicants must visit the designated U.S. consulate, ensuring they arrive on time and carry all required documents and their originals. Essential documents include the passport (and any previous passports), DS-160 confirmation page, visa application fee receipts, visa appointment letter, and supporting documents relevant to the visa category. During the interview, applicants should be well-prepared to answer questions honestly and confidently, as the consular officer evaluates their eligibility based on the application and supporting documentation.
Conclusion
Navigating the U.S. visa application process requires careful planning, attention to detail, and adherence to specific requirements at each stage. By following the step-by-step guide outlined above, applicants can increase their chances of a successful visa application and smooth entry into the United States for their intended purpose of travel.

