
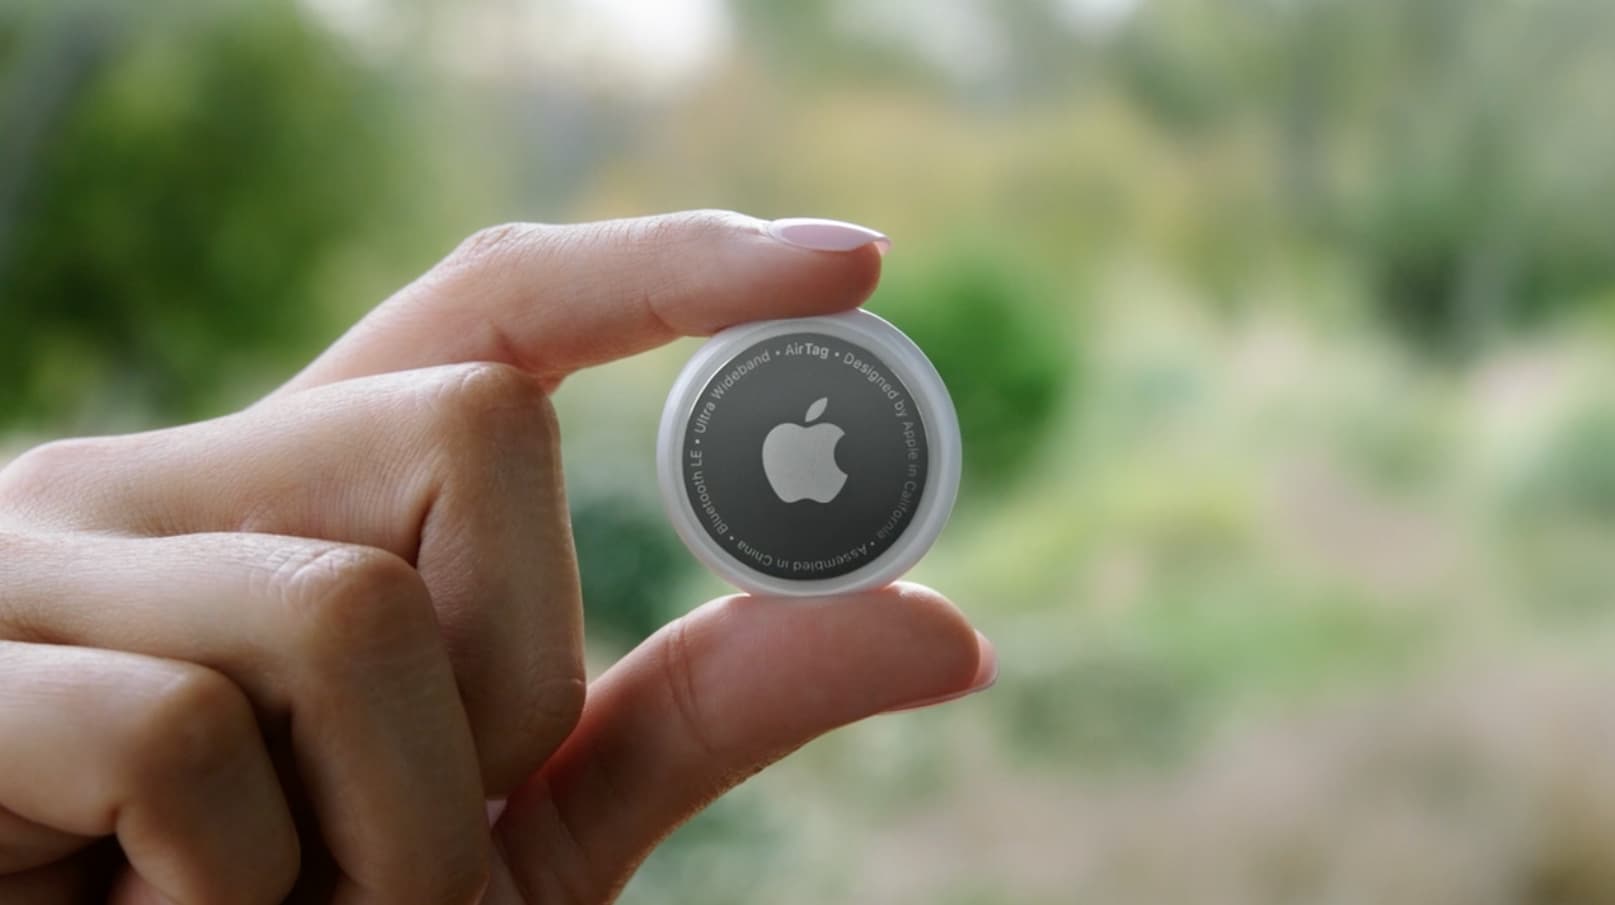
Apple AirTags are a game-changer that helps keep track of personal belongings. These small, disc-shaped devices use Apple’s Find My network to help you locate items like keys, wallets, bags, and more. Whether you’re prone to misplacing things or want an extra layer of security for your valuables, AirTags makes tracking your items easy and convenient. With seamless integration into the Apple ecosystem, you can manage and track multiple items from your iPhone, iPad, or Mac. This guide will walk you through how to set up and use Apple AirTags effectively, ensuring you never lose track of your essentials again.
What You Need Before Setting Up Your Apple AirTag
Before you can start tracking your items, it’s essential to have the right tools and settings in place. To begin, you’ll need an Apple device such as an iPhone, iPad, or iPod Touch that’s running iOS 14.5 or later. This ensures your device can connect to the AirTag and use Apple’s Find My network. Additionally, you’ll need to be signed in to your Apple ID, as this will register the AirTag to you, preventing others from accessing its data. Ensure that Bluetooth is turned on and that location services are enabled, as both are critical for locating your AirTag accurately. With these elements ready, you’re all set to start using your AirTag.
Step-by-Step Guide to Setting Up Your Apple AirTag
Setting up an Apple AirTag is a breeze, even for those who aren’t particularly tech-savvy. Follow these simple steps to get your AirTag up and running:
- Activate the AirTag: Begin by unboxing your AirTag and removing the protective plastic tab to activate the battery. Your AirTag will now be ready for pairing.
- Pair with iPhone: Hold the AirTag close to your iPhone, and a pop-up will automatically appear on your screen. Tap “Connect” to start the pairing process.
- Name Your AirTag: To keep your AirTags organized, you’ll be prompted to name the device. Choose from preset labels like Keys or Wallet, or create a custom name that fits your item.
- Assign to Apple ID: The AirTag will then be linked to your Apple ID, ensuring that only you can track its location and preventing others from re-assigning it.
- Setup Complete: Once the pairing is done, your AirTag is ready for use! You can now track your item via the Find My app on any compatible Apple device.
How to Use AirTags to Track Items
Once your AirTag is set up, it’s time to put it to work. You can start tracking items through the Find My app by navigating to the “Items” tab. Here, you’ll see a list of all your AirTags and their last known locations. If you’ve misplaced something nearby, you can use the “Play Sound” feature to make the AirTag emit a sound, making it easy to locate, whether it’s hidden in a couch cushion or buried under a pile of laundry.
For newer iPhones (11 and later), Precision Finding offers a more advanced tracking option. It provides real-time directions with distance and arrows, guiding you directly to your AirTag with pinpoint accuracy. This is especially helpful for locating items in cluttered or hard-to-reach places.
Using AirTags in Lost Mode
If you’ve lost an item beyond the reach of Bluetooth, you can activate Lost Mode to extend your tracking capabilities. Lost Mode notifies other Apple devices in the vicinity of your missing AirTag, anonymously sending location data back to you via the Find My network. To activate Lost Mode, simply open the Find My app, select the AirTag, and toggle on the Lost Mode feature. You’ll be prompted to enter your phone number or email address, which will be shared if someone finds your item.
If another iPhone user comes into contact with your lost AirTag, they’ll see a notification that directs them to contact you. This feature ensures that even if your item is far away, there’s still a good chance of recovering it with the help of other Apple users.
How to Replace the Battery in Your AirTag
Apple AirTags are powered by standard CR2032 coin cell batteries, which typically last for about a year. When the battery runs low, you’ll receive a notification on your iPhone. Replacing the battery is a straightforward process. To do so, press down on the stainless steel back of the AirTag and rotate it counterclockwise to remove the cover.
Once open, take out the old battery and insert a new one, ensuring that the positive side is facing up. Replace the cover and rotate it clockwise until it clicks into place. Your AirTag will automatically reconnect to your device, and you’re ready to resume tracking your items.
Summary
Apple AirTags provides an efficient and easy-to-use solution for tracking your everyday items. Whether it’s your keys, wallet, or luggage, these small devices offer peace of mind and save time that would otherwise be spent searching. With a simple setup, powerful tracking features like Precision Finding, and the ability to leverage Apple’s expansive network through Lost Mode, AirTags are a valuable addition to the tech-savvy user’s toolkit. Follow this guide to ensure you get the most out of your AirTags, keeping your belongings safe and always within reach.