

If you don’t fly frequently or are a first-time flyer, arriving at the airport can feel like entering a new world of moving walkways, long halls, and gates to faraway places. Some airports even have their own little train or tram system to help consumers travel between terminals, so you may need to figure out which line to take and in which direction.
It may appear and sound overwhelming, but learning what to do at the airport may be simple.
The good news is that most airports have a similar fundamental design, so the actions you must take are nearly identical regardless of which airport is nearest to your home. You won’t even need a map to navigate the airport process. As we enter the peak travel season, here’s a step-by-step guide to learning how to navigate the airport.
How to Find Your Way Around an Airport?
1. Arrive at The Right Place and Time
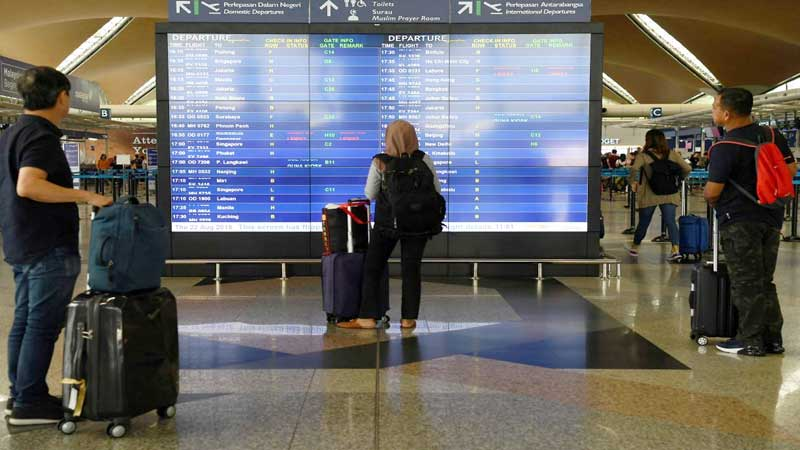
Follow the signs at your airport to ensure you are in the correct terminal building for your journey. For example, at Denver International Airport, Terminal East houses airlines such as Alaska, Delta, Frontier, Southwest, and Spirit, while Terminal West houses American, JetBlue, United, WestJet, and others. Enter the airport through your terminal to ease the next steps in the procedure.
Most airlines recommend that you arrive at the airport at least two hours before your departure time for domestic flights and three hours for international flights. You’ll hear a variety of opinions about whether you need to arrive that early, but it’s a decent general rule.
There are various reasons why you may require additional time:
Are you checking a bag? If this is the case, you may need to spend more time checking in and having your bag weighed before proceeding to the security checkpoint with your boarding card. Wait times in the check-in queue might vary substantially, so plan accordingly if you’re checking a bag.
Are you parking at the airport? If so, allow yourself an extra 20 minutes on top of the time you originally planned to arrive. Airport parking lot shuttles might take a long time to complete their circuits or become overcrowded with families and luggage. If you plan ahead of time, waiting for the next shuttle will not disrupt your trip arrangements.
Do you have TSA Pre-Check or Global Entry? These security pre-clearances can help you go through security faster at the airport. If you don’t have one of them, bear in mind that you may have to wait longer in line, and plan ahead of time to handle potentially long lines.
Related: Trenton-Mercer Is Happy to Have Holiday Travelers!
2. Check-in
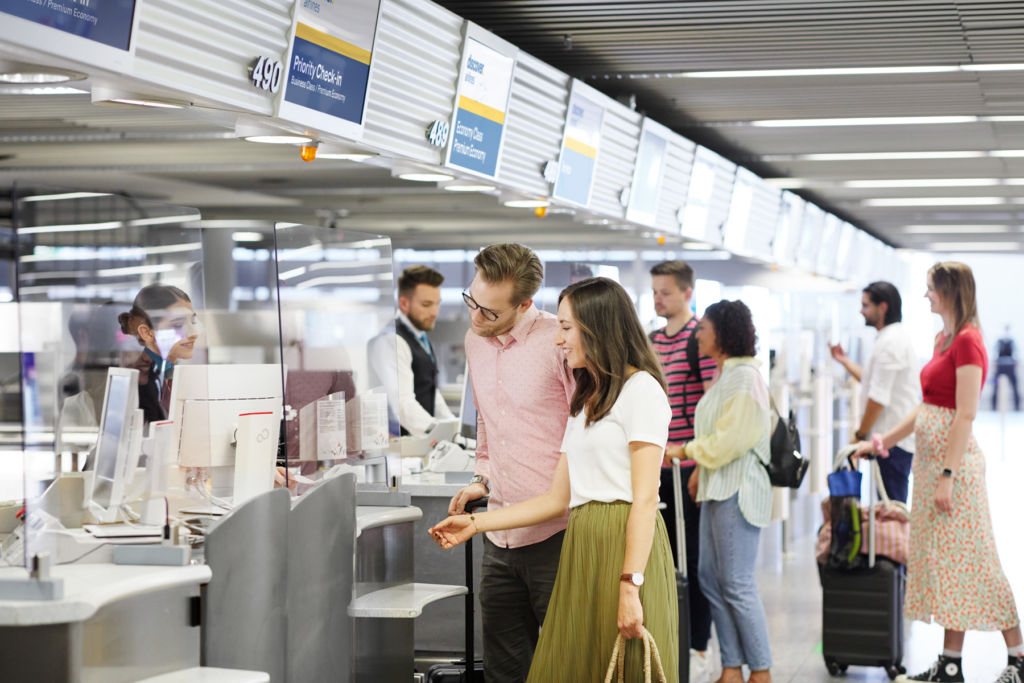
Once you get at the airport, the first thing you should do is check-in (if you have not already done so online).
Many airlines let you check in online 24 hours before your journey. If you’re not checking a bag, this is an excellent alternative because it allows you to download a mobile boarding pass to your phone, bypassing check-in and heading straight to security (Step 3).
If you want a paper boarding pass or are checking a bag, you must officially check-in. Some airlines will provide self-check-in kiosks, where you may enter information about your flight reservation to print boarding cards, check luggage, and choose seats. From there, make your way to the luggage drop line to get your checked suitcase weighed.
For airports lacking self-check-in equipment, the airline’s customer care representatives at the check-in counter will conduct the entire procedure.
Related: The Top Methods to Travel and Stay in the Maldives Using Points and Miles!
3. Proceed Through the Security Checkpoint
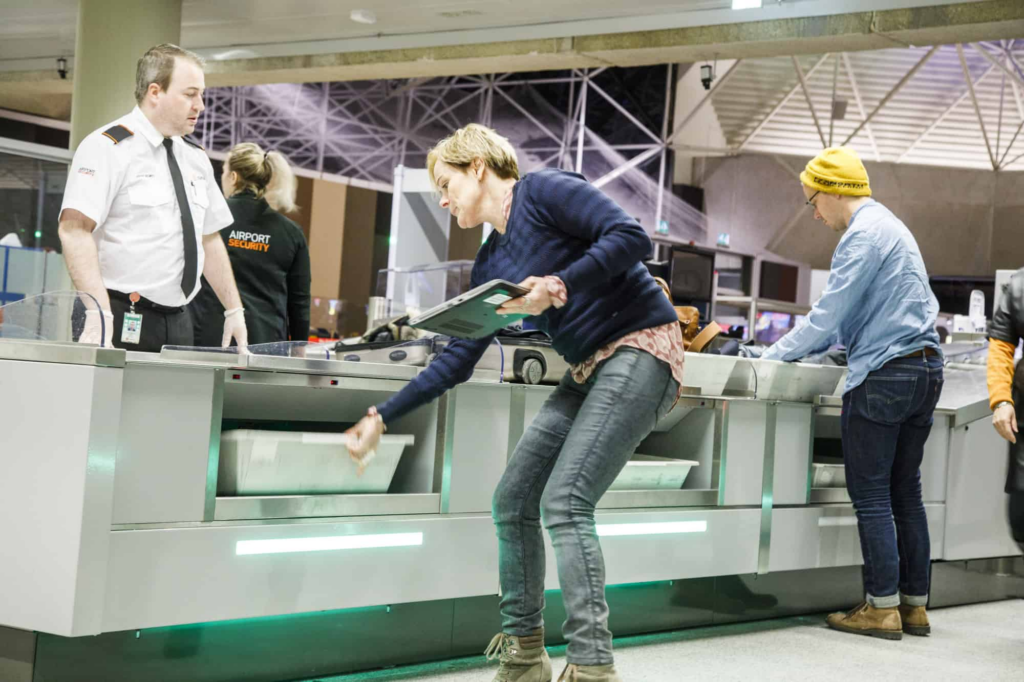
Once you’ve checked your bags and received your boarding pass, proceed to the TSA checkpoint heading to the appropriate concourse for your trip. Concourses are often identified by letter (e.g., Concourse A, B, C) and correspond to your gate designation (for example, Gate B12 is in Concourse B).
Sometimes the signage will read “To All Gates” to direct you away from the check-in area. There may also be additional security checks for different gates, so follow the advice based on your gate number.
When you see the area with different lines, TSA officials in blue uniforms, stacks of bins, X-ray machines, and metal detectors, you’ve arrived. Get in the appropriate line according to whether or not you have TSA Precheck (as shown on your boarding pass).
Understand which goods you can and cannot bring through airport security. Many forbidden goods should be clear; you cannot bring weapons, flammables, or sharp objects in your carry-on. However, several surprise objects cannot be brought past airport security. One prevalent misconception is that liquids are confined to 3.4-ounce travel-sized containers. You cannot bring through beverages, but you may also not bring through goods such as peanut butter jars or yogurt containers.
It also means that — unless they’re in a small package — you can’t bring through many kinds of toothpaste, lotions, and shampoos. If you must bring your toiletries, try packing goods like shampoo and conditioner bars that activate with water. They aren’t liquids, so you can still bring them through security.
The general security checkpoint process often runs like this:
- A TSA agent will check your boarding pass and ID. To save time, have both objects out before approaching their podium. Then, stow these items safely before passing through the security checkpoint—you don’t want them to fall through the cracks or be forgotten.
- Walk up to the baggage screening line, and when it’s your turn, grab as many plastic bins as you believe are required. A decent rule of thumb is to have one for clothing and liquids, one for electronics, and one for personal items if necessary.
- Place the bins on the belt. Remove your shoes and jacket, and empty your pockets. Place these items in one of the containers. Take your toiletries out of your carry-on and place them in a bin (assuming any liquids are TSA-compliant). Remember that you can stack these on top of other objects if necessary.
- Take out your laptop, iPad, and other major electronic items and place them in the second bin. These cannot be stacked alongside other things.
- Attach your carry-on bags or personal item to the belt, if applicable.
- Push your bins and carry-on luggage through the scanner, then join the queue for the X-ray machine.
- Once you’ve exited the machine, collect all of your bins and bags. To minimize crowding and slowing up the queue, move your luggage and bins to a seating area away from the scanner where you may take your time putting your bags back together. Check to make sure you didn’t forget anything, especially your boarding card and ID, which needed to be stored separately from your laptop.
Depending on the airline and the length of your trip, you may ask whether you should travel with a checked bag or a carry-on. This is especially true if you have liquids with you that exceed the TSA’s carry-on liquid limitations.